Posted on

Use Your Stash Challenge…14 – 17

I know that you are probably wondering where I am in the Use Your Stash Challenge! Have I been hiding, or have I simply forgotten about the Use Your Stash Challenge 2015! The truth is neither, I have been hard at work on this challenge. Here are some new things that I have made using supplies that I already had on hand.

This giraffe is number 14

Use Your Stash Challenge


His friend is number 15.
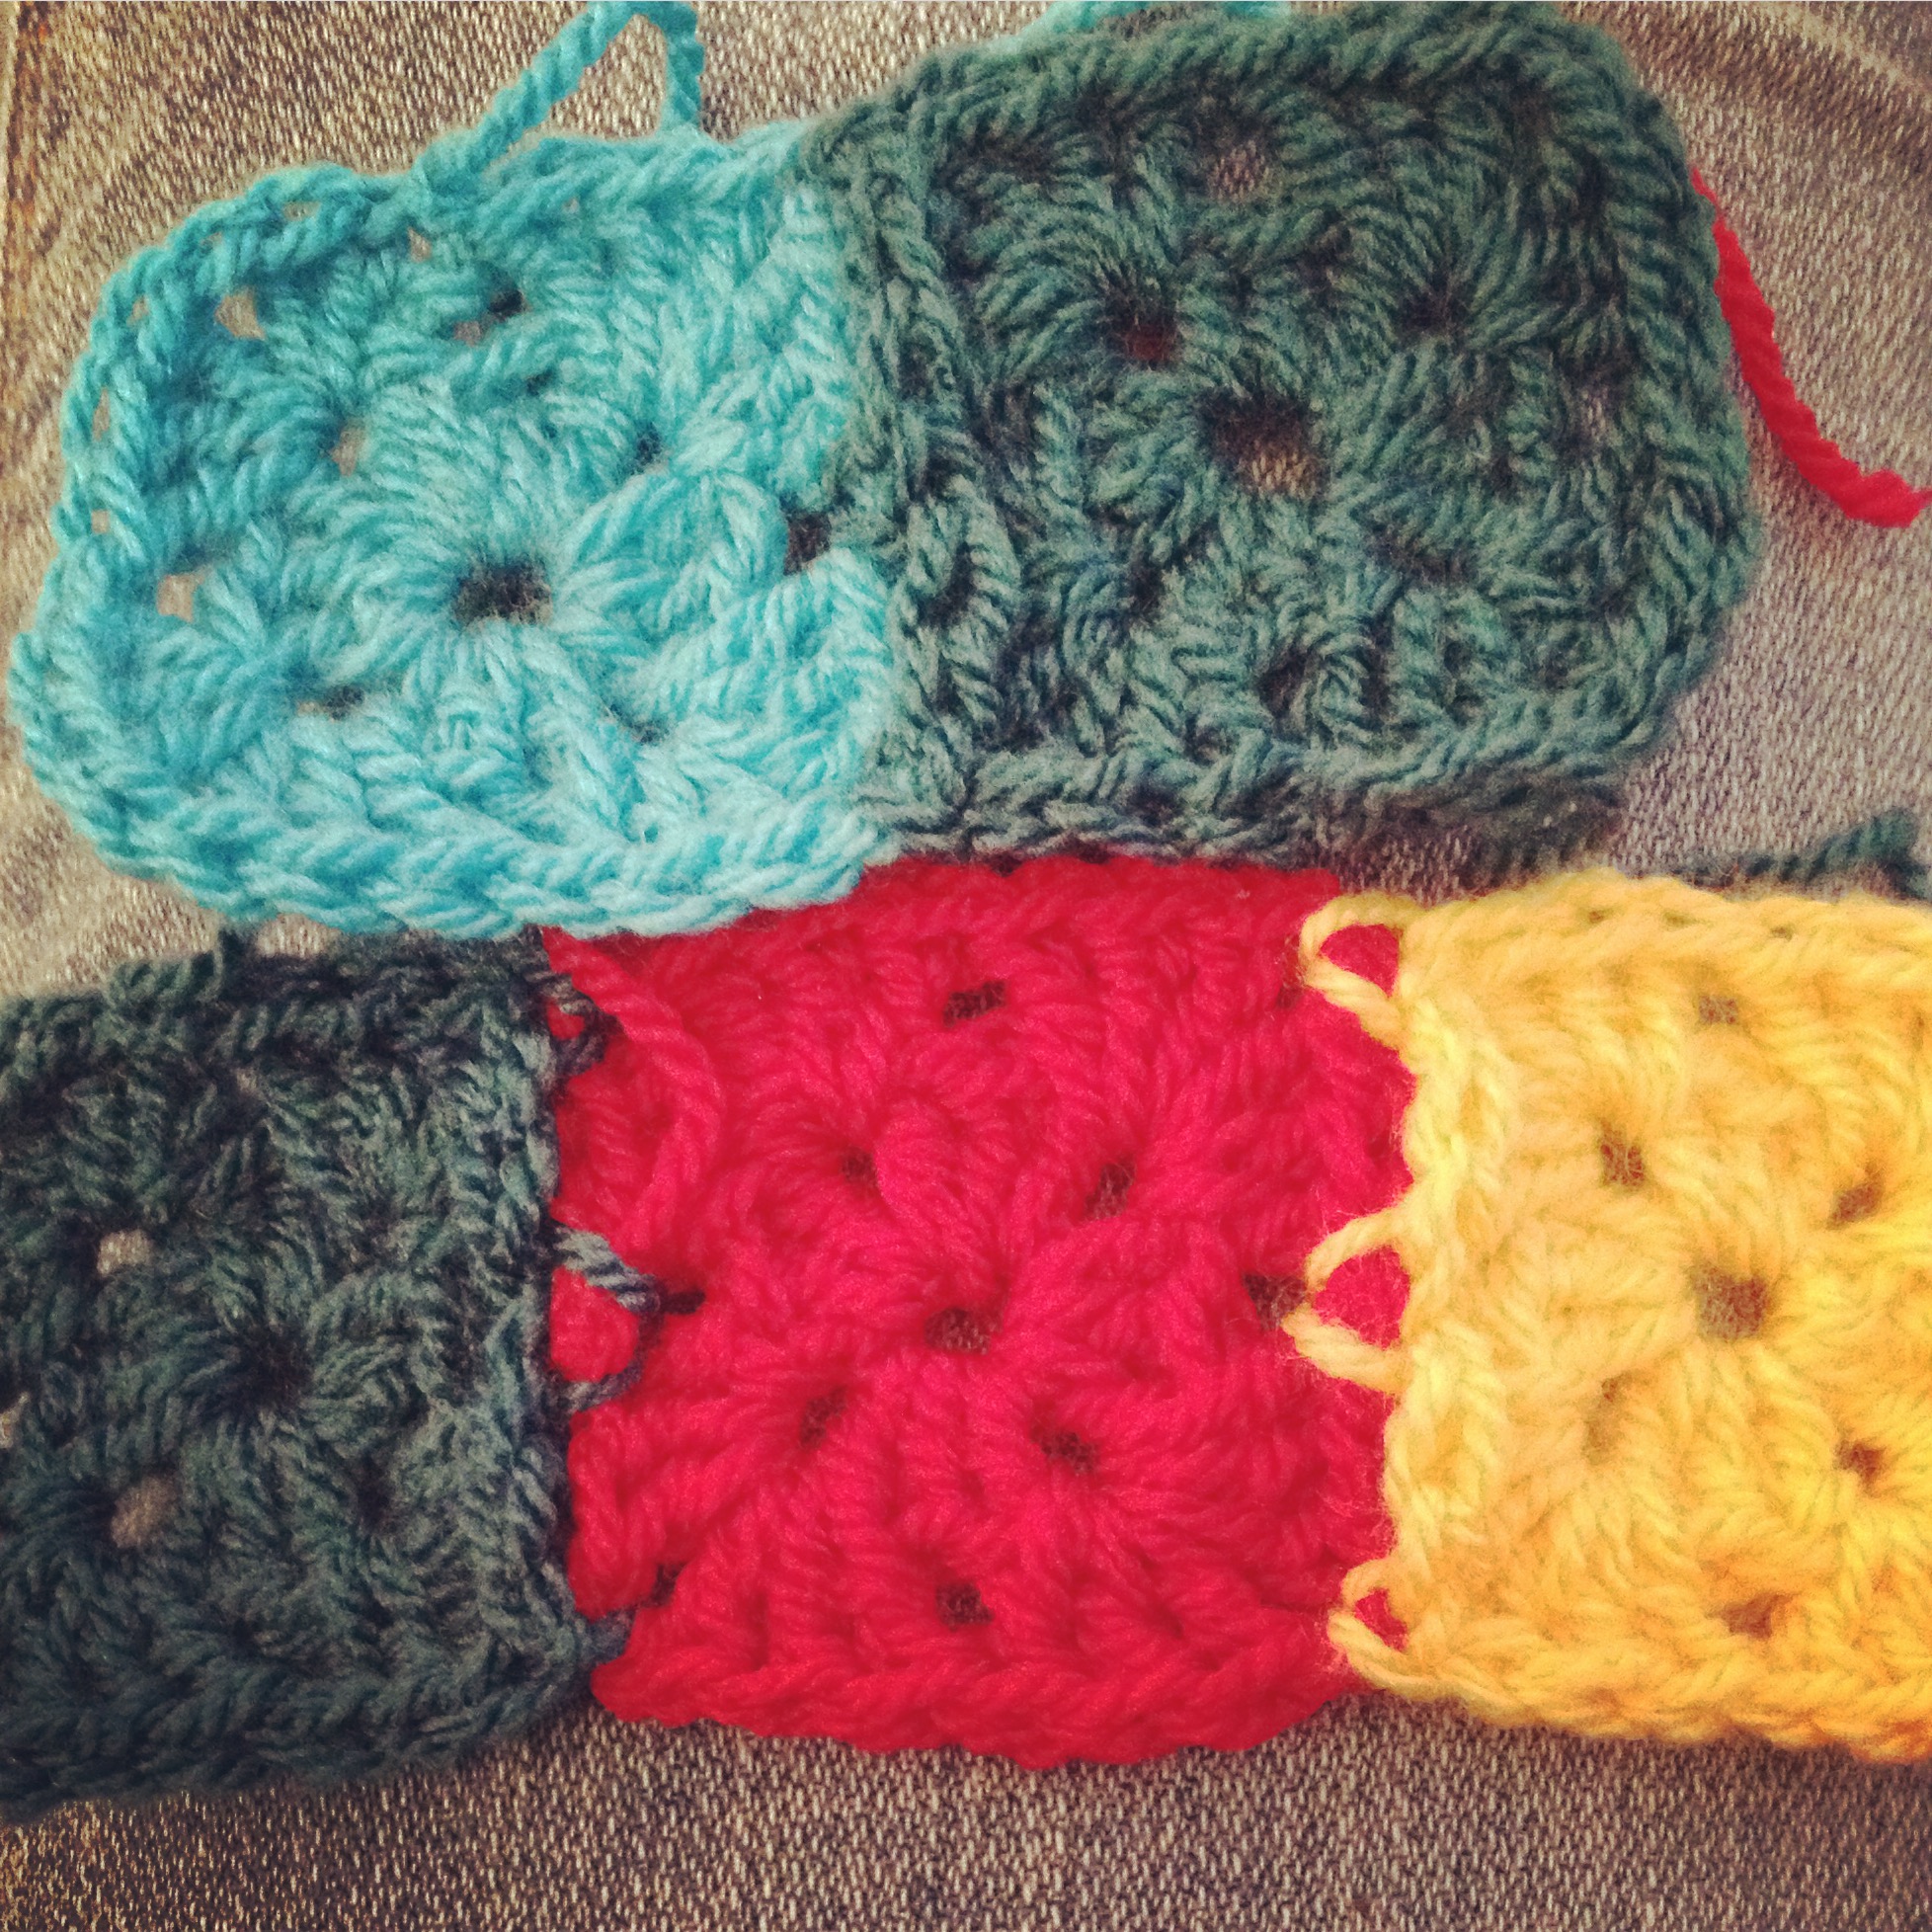
Use Your Stash Challenge

This is number 16.

Use Your Stash Challenge

This baby blanket is number 17.

Use Your Stash Challenge

So, I have been working on it but the items are more complex and take more time! It is great as they also use up more supplies! This is the last post I made in the challenge.

I have started a couple of new blankets but it is taking longer than I expected to get them finished.

Use Your Stash Challenge Use Your Stash Challenge


I have been looking at some ideas that will use up more of my fabric stash. The Use Your Stash Challenge is making me think about what I can do to use up what I already have. I feel a bit guilty as I bought some yarn yesterday in order to work on a new crochet blanket idea.  I gave myself permission to buy if needed. The purchase is within the rules I set.

Here are some cool ideas I found on Pinterest.

This i

Use Your Stash Challenge
http://thesewingloftblog.com/create-scrap-binding/

This is a brilliant idea and while I found it on Pinterest I am not pirating any one else’s idea. I can use my scrap binding on anything I want!

http://www.howdoesshe.com/easy-diy-road-for-toy-cars-made-out-of-your-old-jeans/

This is also a brilliant idea. I would add hook and loop tape to the back since we have carpet on our floors.

http://blog.sina.com.cn/s/blog_5d14f8180102dt0k.html

These are wonderful. I used google translate and the meaning is never quite right but I think the photos are enough direction to be able to make these scissor keepers.

This pot handle pocket is along the same line and just as simple.


Use Your Stash Challenge
http://www.sameliasmum.com/2014/02/pot-holder-pocket-week-2152.html#.VPTT3_nF-So


These bunnies are so cute and a perfect Spring time sewing project.


http://733blog.com/2014/03/scrap-fabric-bunny-softie-tutorial/


Just a few ideas to get your creativity flowing! Winter will soon be over in my part of the country. Well, at least it will be in the 70 degree range next week. We do have ice and some snow forecast for this week. We still have snow in the yard from this weekend.

Talk to you later,

Karen

Posted on

Log Cabin Quilt

Taking a quilting class can be fun. It can be educational. It can be both if you take the class with friends. I have never really quilted. I decided to use my scraps as it would be a great way to use up scrap pieces. This was not a great idea. It has been really hard and I have ripped out more than I care to admit.

Log Cabin quilt

I set out the fabrics to see if my idea would work.   After taking all the squares apart and putting them back together about 4 times. I have learned some things.

  • When you take a quilting class for the first time. Buy exactly what they say. If it calls for 1 1/2 yards of color A then either have 1 1/2 yards or buy 1 1/2 yards of one fabric.
  • A class is not the time  to vary from the instructions in any way. There is a reason why they want you to do the work a specific way.
  • Buy the gizmos and gadgets that they list in the instructions
  • It is stressful to the teacher for you to vary greatly from what everyone is doing. She worries that you won’t get it done, or that it will reflect badly on her.
  • It takes time away from the other students, if the teacher spends her time working with you on your crazy project.

Now you know what I learned this week. It has been incredibly stressful and I spent several nightmare days ripping out sewing and then doing it again wrong. I can easily say that this has been the single more frustrating thing I have ever done, and I brought it all on myself. I persevered and got it done.

Log Cabin quilt Log Cabin quiltI almost have the blocks finished. I have two left to rip out and sew again. That will give me 13 blocks and allow me a spare for the layout process.

Talk to you later,

Karen


Posted on

To do List: March 3

Here is the To Do list from the start of March. I have been so behind on posting my lists. I have tons to do to get ready for a craft show and keep up my Etsy shops, in addition to writing 2 new crochet patterns. So, without any further procrastination here is my updated to do list.

I went back to look at my last to do list. Wow, I last posted in January!

  1.  Iron flannel blankets and pin
  2. Iron satin
  3. Iron quilt cottons
  4. arrange sewing by color thread
  5. sew items by thread color: blue, white, red, black and pink thread
  6. cut out capes
  7. cut out quilt cottons
  8. Press all seams and completed projects for photography

Time to regroup and re-prioritize

Crochet work

Blankets in progress


To do List: MarchTo Do list: March


3. crochet hats for show this summer

4. Scarves (10)

5. baby hats with flowers

Sewing

  • capes are cut, pinned and ready to sew  To Do list: March My prototype super hero cape tester. (He is getting ready to take off, that is why there is the odd angle on the photo!  All capes are Edna Mode approved (I think) as they come off if you pull on them.
  • coffee cozies are also cut, pinned and ready to sew
  • flannel baby blankets are also cut, pinned and ready to sew
  • scrap flower quilt for Use Your Stash quilt cut, and ready to start sewing blocks
  • I need to figure out some new items for using up my stash!
  • Clean up the studio. It has gotten out of hand and needs to get sorted back out.

Talk to you later,

Karen


Posted on

Log Cabin quilt class

It has been a week of struggles here in Tulsa at the Studio. My back is still giving me some problems. I am doing all the right things and it just takes time for it to heal.

The weather has been odd, somewhere between blizzard and Tahiti. Which is pretty typical for Oklahoma this time of year. I never know whether to take a coat or not. So, I end up over dressing and then leaving the coat in the car. I have some huge snowballs out in the front yard and more sleet is projected for this week. My college kids come home this weekend for Spring Break which starts a huge round of days offish.

I’m starting my quilting class this week and here are a few of the fabrics I have been considering.  I am trying to use my stash for the Use My Stash Challenge.

Log Cabin quilt class Log Cabin quilt class


It is a log cabin quilt. I am going to make a twin sized quilt instead of a lap quilt as I already have so many crochet afghans around. The last thing we need is another lap quilt. It has been really stressful to figure out how much fabric I am needing to take to class. I really didn’t want to take all of my stash fabrics with me. The ones I did take needed to be ironed! So I finally sat down and figured out what to do. After calling both my Mom and my good friend Dawn. She quilts, regularly… as in all the time and Mom has made a log cabin quilt before. I  knew that they would be able to help me or at least listen to me while I talked through  it.

I hope to show you some photos tonight after class. I hope we do more than cut strips out, tonight. My back is not going to like that.

Talk to you later,

Karen


Posted on

Repair a tear in Skinny jeans

My daughter has these jeans that she loves. Our loving dogs jumped up on this brand new pair and put a lovely three corner tear in the leg. The jeans are so skinny that I couldn’t get to them to repair them. I know that holey jeans are the thing, but she doesn’t like holey jeans. So, I had two options: throw them out, or find a way to repair them. I decided to repair them. Here is the process I used to fix her jeans. It is one I learned a long time ago when the boys were little and used to put the knees out on jeans.


Supplies:

a free arm sewing machine,

thread to match or contrast as you choose

pins

scrap piece of denim

scissors

seam ripper

Repair a tear in Skinny jeansHere is the tear on the outside of her jeans.

Repair a tear in Skinny jeans

There are a bunch of extra threads and I didn’t wash the jeans before repairing. I would if I were patching the whole knee as I did when the boys were small. This tear is little and she has just put them on so they are relatively clean.

Step 1. Turn the jeans inside out. See how skinny these are.

Repair a tear in Skinny jeans


2. Cut the serging on the edges of one side of the jeans. This is the opposite side of the decorative top stitching. You do not want to take out the topstitching. It is a hassle to replace and matching the thread and stitch size can be a real issue.

Repair a tear in Skinny jeans

Here I am sliding the point of these scissors up under the edge of the serger stitching.

3. Cut the straight stitching and take it out as well.Repair a tear in Skinny jeans

A seam ripper will help you with this.

4. Cut a patch out of a similar weight fabric. It helps that the fabric has been washed and dryed about the same amount as the jeans you are patching. In this case I cut a  square bit about two inches bigger than the tear.

Repair a tear in Skinny jeans5.Pin the patch in place. Checking on the inside that the patch is smoothly pinned and not wrinkled or wadded.

Repair a tear in Skinny jeans Repair a tear in Skinny jeans

6. My sewing machine is a free arm machine. Which makes it easier to put the opened up jean leg under the pressure foot. You need to make sure that the patch is smooth under the jean leg.

Repair a tear in Skinny jeans

Repair a tear in Skinny jeans

Using a thread that matches the denim as close as you can get, straight stitch all around the  tear as close as you can get to the actual tear. Use a small stitch length so that it really holds the patch fabric down.

Repair a tear in Skinny jeans Repair a tear in Skinny jeans


You could use a contrasting thread color if you want to add it as a decorative element.

7. Then using a zig zag stitch. go over the edge of the tear. I chose to use navy thread. Repair a tear in Skinny jeans

Yes, you can see the stitching. but the hole is repaired and I think with boots no one will noticed the repair.

Here is the inside showing the patch and the stitching.

Repair a tear in Skinny jeans


(Yes, my bobbin threads are purple.)Trim your threads on the inside and outside of your jeans. Then trim the patch down.

Repair a tear in Skinny jeansSew up the leg with the straight stitch in the same place that the other stitching was. You want to back stitch at the start and end and be sure to stitch over the original stitching a bit at the start and at the end so that these stitches are well anchored. You don’t want your jean seams to open up while you are wearing them!

Repair a tear in Skinny jeans

I also added a zig zag stitch on the edge of the jeans to keep them from unravelling.

Repair a tear in Skinny jeans Repair a tear in Skinny jeans

This is the stitch I used.

Here is the finished product!

Repair a tear in Skinny jeans


Yay, her jeans are repaired and now she has a pair for yard work, without the gaping hole that they would have in short order.

My back is a little better but I am not sewing much these days. I have been crocheting quite a bit and I will show you a few of my new projects in the days to come.

talk to you later,

Karen


Posted on

10 Stash Busting Links to Read

I feel like I have a super slow start to the Use Your Stash Challenge – 2015. I needed some inspiration and I found these lovely links to challenge and encourage me to keep going. My stash just seems to keep growing and growing. I have completed some bit fabric and yarn busting projects but I need something for the little bits of yarn and little bits of fabric. This list is a great place to start when it comes to stash busting those little pieces of fabric and yarn.

1.A great stash busting article from Quilting daily!

2. This lovely blanket from Spincushions

10 Stash busting links
http://spincushions.com/ive-been-stash-busting/

3. Yarn Stash busting idea round up by Making it Home!

10 Stash busting links
http://makingithomeblog.com/5-easy-stash-busting-crocheted-toy-patterns/

3. The cutest toddler sweater by Tricksy Knitter that I have ever seen!

10 Stash busting links
http://www.tricksyknitter.com/stash-busting-toddler-raglan-hoodie/

4. A paper embellishments stash busting e-course from A Beautiful Mess Shop

5. Crazy Mom Quilts has some great fabric scrap busting ideas.

10 Stash busting links
http://crazymomquilts.blogspot.com/2014/05/even-more-scrap-projects.html

She has some great ideas so check out the rest of her blog. Here is another post full of wonderful scrap ideas. I really fell down the rabbit hole in her blog there are so many great ideas and I love her use of color!

6. This Groovy Gahn by JustbecauseIcan on Ravelry would be a great scrap blanket.

10 Stash busting links
http://www.ravelry.com/projects/JustBecauseICan/groovyghan-3

7.  Then there is this beautiful woven fabric basket from MarshmallowsandPickles.

10 Stash busting links
http://web.archive.org/web/20110122061337/http://www.marshmallowsandpickles.com/2010/04/april-stash-bust-challenge.html

8. For the Knitters…I love this blanket. It is superb. The colors, the pattern, I just like everything about it! It is from https://cauchycomplete.wordpress.com.

10 Stash busting links
https://cauchycomplete.wordpress.com/2012/02/01/blankety-blank/

9.  For the Crocheters, there is this option! It is from Dream a little bigger.

10 Stash busting links
http://www.dreamalittlebigger.com/post/stash-busting-crochet.html

10. A great stash busting quilt is the ticker tape quilt. There are so many options out there. I simply went to Pinterest and searched for ticker tape sewing and came up with so many different options. Here is a great ticker tape style doll quilt. This one is from Teaginnydesigns. She got the pattern from Amanda Jean Nyborg at crazymomquilts.

10 Stash busting links
http://teaginnydesigns.blogspot.com/2011/08/ticker-tape-rainbow.html

There 10 great stash busting projects to give you some inspiration for the Using Your Stash Challenge – 2015!

I am not sure what I am going to do right now. I have some blah projects to work on but they aren’t as beautiful as these stash projects. So, I am torn, should I start a new stash busting project or simply use the larger pieces of fabric for the more routine sewing.

Do you have any advice? I sure would love to hear it!

Do you have any stash busting projects or links to share with me? I would also love to see those!

Talk to you later,

Karen

Posted on

The Neverending list of to dos

Here is my to do list for the week.

I am working on my to do list and all the WIPs that I have accumulated over the year. I am getting quite a bit completed but nothing new or earth shattering. Thisneverending list of to dos just has to get slimmed down by a bunch of work. Here is the list so far.

Yarny things:

  • Crochet shawl

The Neverending list of to dos I love the colors in the scarf/shawl. It will be big enough to be a shawl  and yet small enough to wear with a coat. It matches my winter coat and most of my clothes so when I take off the coat I can still wear it.

  • blue and white Stripe

The Neverending list of to dos 

I have added four white rows and will probably take it tomorrow to work on while I wait for classes to be finished.

  • multicolor granny stripe

I haven’t touched this one yet. I love the colors and it is only a matter of time.

The Neverending list of to dos

Sewn things:

  • Various cup cozies – I have made 2 batman cup cozies
  • coffee press cozies
  • hot pads or pot holders
  • 2-3 aprons
  • a quilt that needs the machine quilting I have worked on the quilt and just lack the long sides and bias binding in order to finish this up.

The Neverending list of to dos


  • I have been cutting and sewing some satin that has been sitting in the studio since 2013. I am glad that I am finally sewing on it. I am still in the process of drafting a workable pattern so I have some prototypes. I am probably going to take them with me tomorrow and see how they work on real life kids. Since I am lacking little kids in my house any more.

As far as being organized.

  1. I have made a menu for the week
  2. I am planning to make some jelly this weekend
  3. I have checked my appointments to make sure that I am missing nothing.

I read this great blog post by Michael Hyatt and I am breaking my tasks down to smaller pieces. This will help me be more organized. I am also going to set a time and date for myself to go and sit at the sewing machine to sew. I am also going to decide which project to work while I wait for kids at various activities. Cooking dinner and the clean up that goes with it add all kinds of stress to my day. I am making a menu and then setting an alarm to remind me to start dinner at a certain time every day. I tend to work up until the last minute and then dinner is unhealthy (no vegetables or salad), sandwiches, or fast food. All of which are bad for the budget, and add stress.

Things I am going to work on to whittle my neverending list of to dos down to a manageable size.

  1. Finish the quilt (there is probably only 2-3 more hours of work.)
  2. Sew 3 coffee press cozies
  3. Sew 20 coffee cup sleeves
  4. sew 3 bibs (already cut just need to be sewn)
  5. sew up 5 flannel blankets (already cut just need to be sewn)
  6. sew 10 more paper pieced quilt squares
  7. Finish the crochet consignment pieces
  8. Finish the crochet scarf shawl ( I think I am only lacking 6 more rows and then a picot border)

Here is what I said last week. http://www.chocolatedogstudio.com/2015/01/06/tuesdays-project-progress-week-one/

Talk to you later,

Karen

Posted on

Using My Fabric Stash item #2

I finally did it! I did some sewing. I actually sewed clothing. I never sew clothing but here it is. My Mother in Law had some incredible fabric stash. She sewed all of her life and after she became a Grandma she sewed incredible dresses for the girls. I am sure that this fabric was intended to become a beautiful hand smocked dress. The girls grew up too quickly and the stash was never used. . I know she was disappointed when the girls grew too big for the hand made treasures. I have quite of few of them saved back. I just couldn’t get rid of the beautiful hand made dress. The hours of work that she put into each dress is just overwhelming to think about. She poured out her love into these Sunday dresses for the girls.

Here is what I made. The instructions were weird and I would totally put it together another way. I think my middle school home ec teacher would give me a C on this project. It isn’t perfect but fits the bill.

fabric stash

I think it came out quite nice. There are things I would change about it but I am still pleased with results. It is a little too big which is so much easier to fix. Here are its humble beginnings.

fabric stash

Isn’t the fabric beautiful. I just love the blue and green floral design. It is a very lightweight cotton fabric. I love the fact that the fabric stash is getting so much smaller.

This is #2 out of 200 in the Use Your Stash Challenge- 2015. I am excited, things are getting finished and plans are being made for future items. I am a great procrastinator and I needed this little push to make me finish some things up. 200 items feels like a goal I will never meet. I keep reminding myself of all of the supplies I have stashed away in my studio under the eaves. I know I can come up with a bunch of small items. I just hope that they will be worth the time. If you are wondering what I am doing with trying to make 200 items out of my stash you can find the first blog post here.

It has been a busy week with our homeschool co-op, church and other obligations. Our youngest son is writing a blog and I am helping him with the little bit that I know. He is filming You-tube videos about building with legos. They are funny and quirky just like he is. They are g rated videos for kids and quirky enough for adults to enjoy. If you would like to watch his first couple of videos you can see them here: lego-of.me Send him a comment or two and let him know that you have stopped by. It is so encouraging to know that someone somewhere is reading what you write.

Talk to you later,

Karen


Posted on

Burlap Dry Erase board – Use Your Stash Challenge – 2015 #1

I have finished a couple of Use Your Stash projects and here is number: 1 a burlap dry erase board! Remember when I was washing burlap.  It looked like this in the washer. I washed it three times.

burlap dry erase board

The lint was incredible for all three loads. I thought that the amount of lint would decrease. It didn’t, I think the burlap bags were so old that they were disintegrating in the wash cycle.

burlap dry erase board

The bags did lose a lot of dust and dirt along with all the lint. I checked the lint trap twice during each load. I was scared that I was going to set the dryer on fired with all the extra lint.
I had seen great burlap dry erase boards on Pinterest. I like all the texture that burlap dry erase boards have. I had an old inspirational photo in a pretty nice frame that we have had for years. The photo had something to do with diligence or hard work or something like that. I took the poster out and added the burlap. I glued the burlap down around the edges with something rather like tacky glue. I pushed the staples back down to hold all the cardboard, burlap and glass in. Then I glued brown paper across the back like a framing store does. It keeps it looking neat on the back.Burlap dry erase boardYou can see the red and green stripes from the original burlap bag. So, this is my first stash project in the Use Your Stash – 2015. I am excited and it looks great! It didn’t cost a penny – if you don’t count all the energy used to wash and dry the burlap sacks. We will probably use this for messages, grocery lists, and reminders. It appears to be infinitely useful. It will probably hang in the laundry room. I am trying to get that room more organized and decorated.

talk to you later,

Karen

You can read my Use Your Stash Challenge – 2015 rules here.


Posted on

The Shop is on Sale!

sale right sizeEverything in the shop is 30% off. I really want to start the year off with a clean slate in the shop! WooHoo! So, my desire to start with a clean slate is your opportunity and when opportunity knocks you really should answer! All this to say…shop to your hearts content!

Everything, absolutely everything in the shop, including aprons, hats, scarves, infinity scarves, blankets, cozies, ornaments, and crystal, is all 30% off! It will never ALL be this low again. I may put bits and pieces of the shop on sale but not ALL of it.

I did some organizing and cleaning yesterday and I will do more today in preparation for the new year. I can’t wait to get started on the Use Your Stash Challenge. It starts pretty soon… so figure out the rules for your challenge. It can be a short and sweet WIPS challenge or a giant 300 items in 300 days Challenge. It can be make 20 items in 50 days or you can simply finish that One thing that is driving you nuts. I am gathering my items together and planning out how it is all going to happen! This is why I am having the huge sale. I do so want to add new things to the shop this Spring! We are not going to start on January 1st. I am giving myself some time off. I have my daughter home from college and I want to enjoy her visit. I have some cleaning to do in the studio. I also need to get youngest  daughter started with her schooling before I jump in with both feet to create anything new. The anticipation is growing and I can hardly wait to get started.

The Use Your Stash challenge is the 12 of January. You can read more about my rules for my Challenge last year here: http://www.chocolatedogstudio.com/2014/01/17/1-thing-for-100-days-challenge/  You can see most of the completed items here: http://www.chocolatedogstudio.com/2014/04/14/100-items-in-100-days/

Thanks,
Karen